UISwitch Tutorial introduction
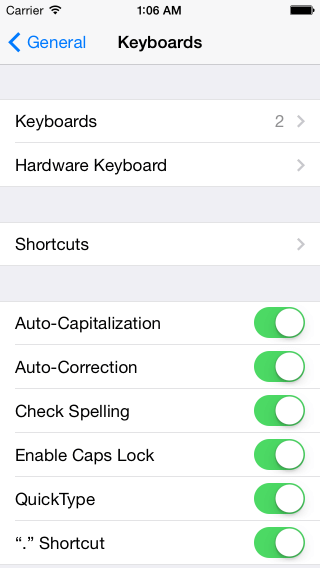
The iOS switch control is like a real time electronic switch . UISwitch class is used to create and manage on/off state of the buttons that will work like a switch, this UISwitch on/off state is represented by boolean object, you can see the example of uiswitch in ios settings apps like Auto-Capitalization, and Auto-Correction, etc.
This ios programming “UISwitch Tutorial” is written in swift so you must need Xcode6 to run this application.
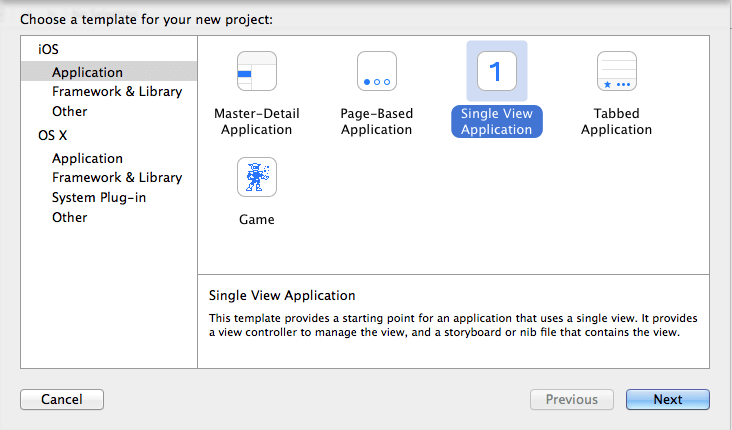
Open the Xcode and create a new single view application,
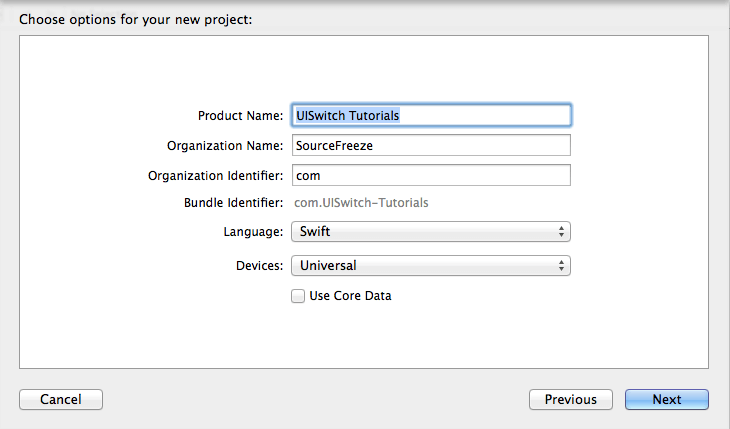
Then, enter the product name as “UISwitch Tutorials” next fill out the Organization Name and Organization identifier then select “Swift” language and device family as iPhone and remains the core data field unchecked because we are not using that feature, to create ios switch we can either use a storyboard or create by code instance let’s start our tutorial using storyboard.
Adding UISwitch into a storyboard
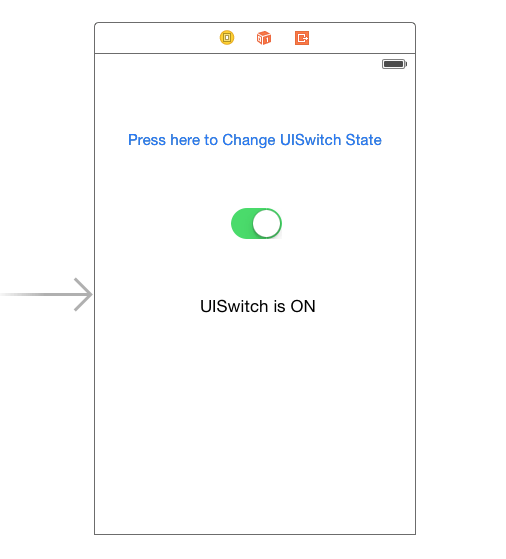
Then go to the storyboard and drag the ios switch, button and label to the main view, next change the button title as “Press here to Change UISwitch State” and label title as “The UISwitch is ON” then the storyboard should like below.
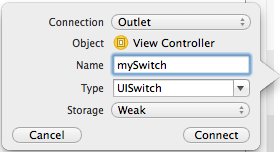
Then go to the ViewController.swift by selecting the Assistance editor, and create outlet for UISwitch
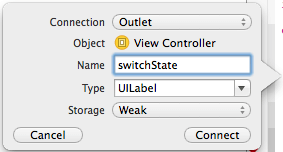
Next drag the label and create outlet like below,
the below code added into your viewcontroller.swift file
@IBOutlet var mySwitch: UISwitch
@IBOutlet var switchState: UILabel
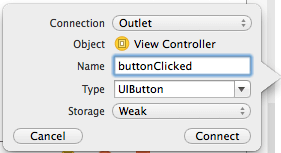
Next drag the UIButton and create action like below,
UISwitch Coding Part
then we will implement button clicked event like below,
@IBAction func buttonClicked(sender: AnyObject)
{
if mySwitch.on
{ switchState.text = "UISwitch is OFF"
println("Switch is on")
mySwitch.setOn(false, animated:true)
}
else
{
switchState.text = "UISwitch is ON"
println("Switch is off")
mySwitch.setOn(true, animated:true)
}
}
we can change the state of uiswitch by the method of setOn:animated:, if the uiswitch is on once we clicked button it will change the uiswitch state to off, and updates the label text, otherwise the uiswitch state is changed to on and label text updated.
by manually change the state uiswitch by enter the below code into viewDidLoad method,
mySwitch.addTarget(self, action: Selector("switchIsChanged:"), forControlEvents: UIControlEvents.ValueChanged)When the switch is flipped the UIControlEventValueChanged event is triggered and the stateChanged method will be called.
func switchIsChanged(mySwitch: UISwitch)
{
if mySwitch.on
{
switchState.text = "UISwitch is ON"
}
else
{
switchState.text = "UISwitch is OFF"
}
}
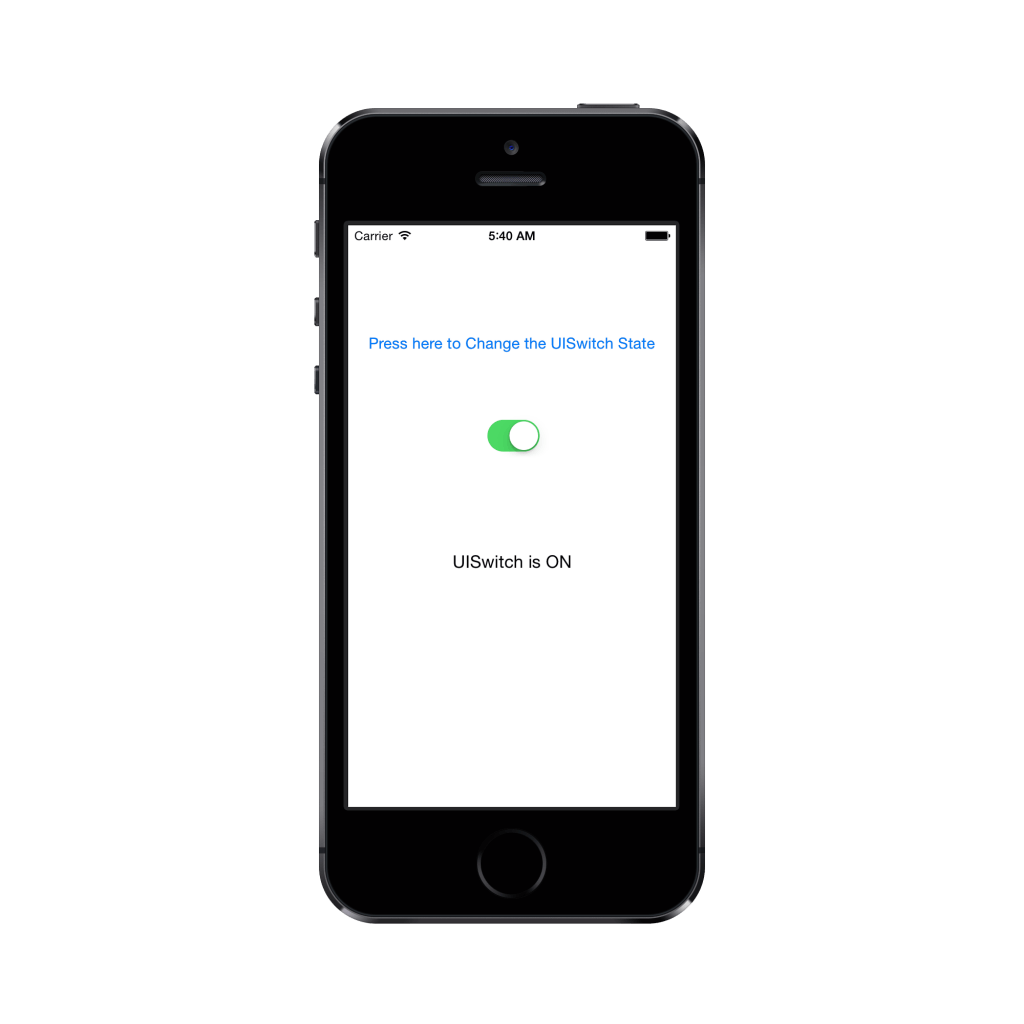
and the label text updated as per uiswitch state, and go ahead Build and Run “UISwitch Tutorial” application, will see the output like below, and download the uiswitch tutorial source code from here.
Leave a Reply