iOS DatePicker control introduction
In the Previous tutorial, we created UISegmentedControl example, now this project going to implement how to create an “iOS DatePicker” example using swift.
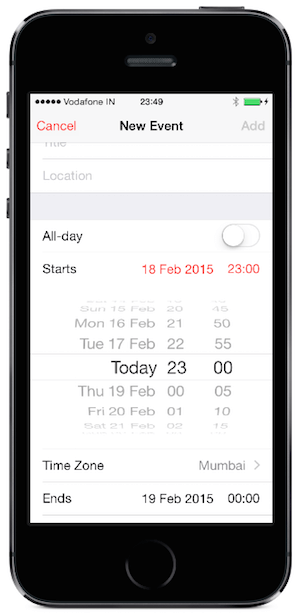
UIDatePicker object using to select the specific date and time. If you are a documentation lover, you can read the UIDatePicker apple documentation here, a good example of iOS DatePicker Control is the calendar app of the iPhone.
This UIDatePicker Example is written in swift so you must need Xcode6 or greater version to run the application.
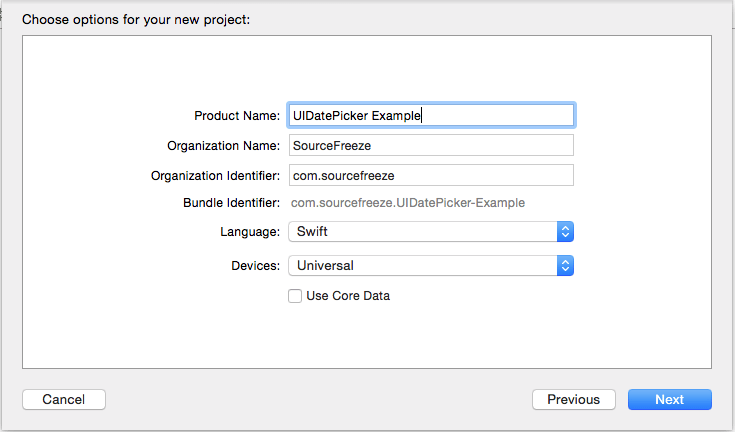
Open the Xcode and create the single view application, enter the project name as “UIDatePicker Example”, fill out the Organization Name and Organization Identifier fields, next select the “Swift” in the language field and remains Use Core Data field as unselected because we are not using that feature in this project then select next and save the project.
Adding UIDatePicker into storyboard
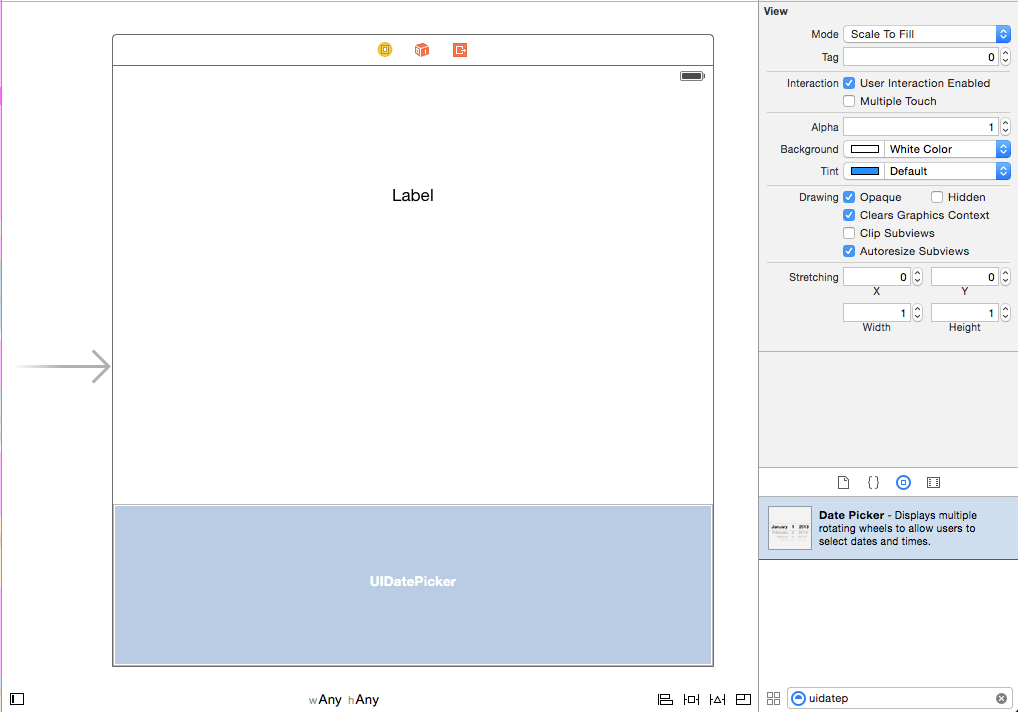
Open the Main.storyboard file, then drag the iOS DatePicker control and UILabel into the storyboard it will looks like below,
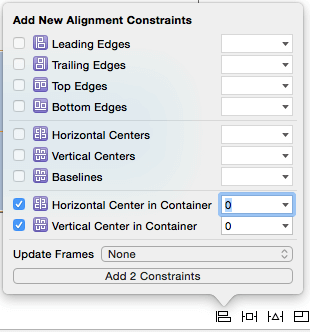
Next, center align iOS DatePicker by selecting the align label listed at the bottom of the storyboard view, click the check box of Horizontal center in container and Vertical center in a container, now select the “Add 2 Constraints” as shown in the below now UIDatePicker control added into the center of the view.
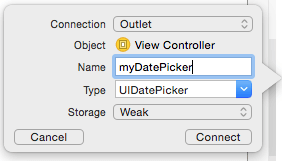
Then go to the ViewController.swift file by selecting the assistance editor, create the IBOutlet for UIDatePicker control and name it as “myDatePicker”, it looks like the below.
Next Create the IBOutlet for UILabel and name it as “selectedDate”, like below.

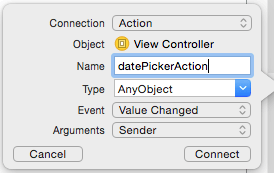
Now create a IBAction for myDatePicker and name it as “datePickerAction” it looks like below.
Next, add the below code into the “datePickerAction” method in the ViewController.swift file
@IBAction
func datePickerAction(sender: AnyObject)
{
var dateFormatter = NSDateFormatter()
dateFormatter.dateFormat = "dd-MM-yyyy HH:mm"
var strDate = dateFormatter.stringFromDate(myDatePicker.date)
self.selectedDate.text = strDate
}
Here, we are using dateFormatter object to format the date, and converting the date to a string using stringFromDate Object, then assigning that string value into selectedDate label text.
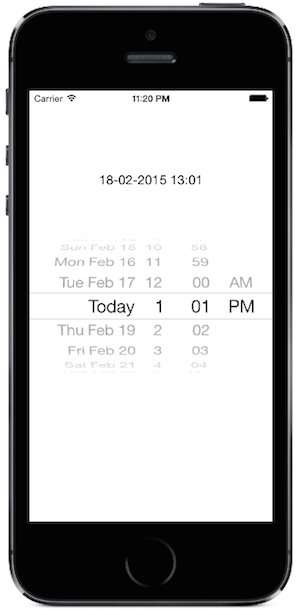
Then go ahead, Build and Run the application, you will get the below output in the selected device or simulator.
Now, you can download complete iOS Datepicker Source Code tutorial here. !!!
Leave a Reply