In my previous tutorial i have explained about how to create uitableview, in this tutorial we will learn about how to implement uistepper using swift in iOS.
UIStepper control lets user adjust a value by increasing and decreasing it in small steps. It has two buttons with minus (-) and plus(+) symbol. The minus symbol button is used to decrement the value and the plus symbol is used to increment the value.
This “UIStepper Example” is written in swift so you must need Xcode6 or greater version to run this application.
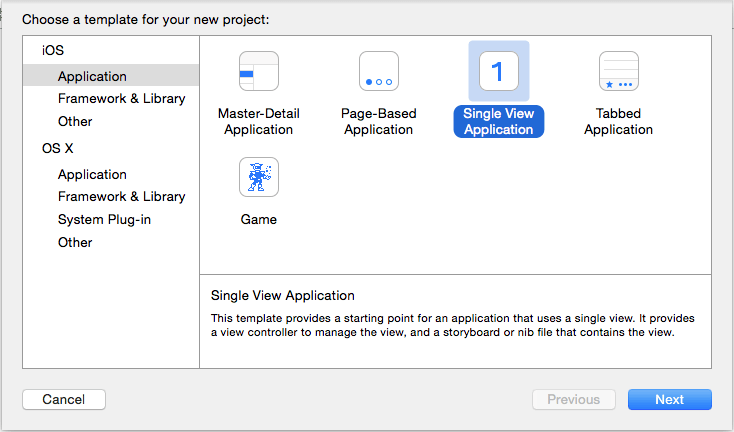
Open the Xcode and create a new single view application,
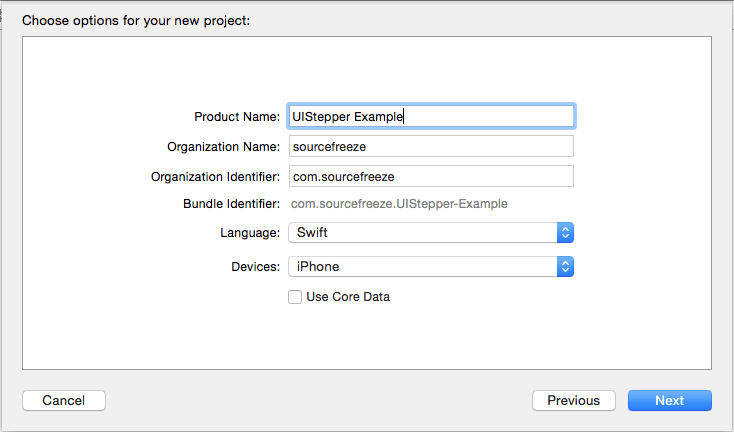
Then, enter the product name as “UIStepper Example” next fill out the Organization Name and Organization identifier then select “Swift” language and device family as iPhone and remains core data field as unchecked because we are not using that feature select next and save the project, to create a iOS stepper control we can either use storyboard or create by code instance let’s start our tutorial using story board.
Adding UIStepper into storyboard
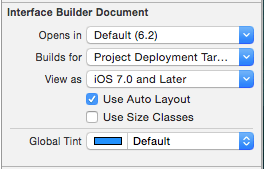
Open the Main.storyboard file. in Xcode 6 the view controller are square by default because it supports all the iOS device types, but this tutorial only going to be iPhone, so you can disable the file classes, by uncheck the use size classes in the File Inspector.
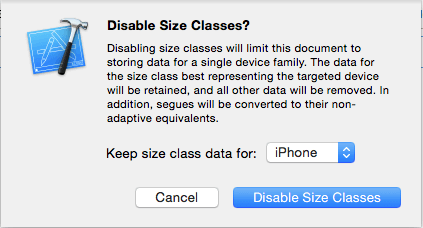
Choose Keep size class data for: iPhone, and click Disable Size Classes.
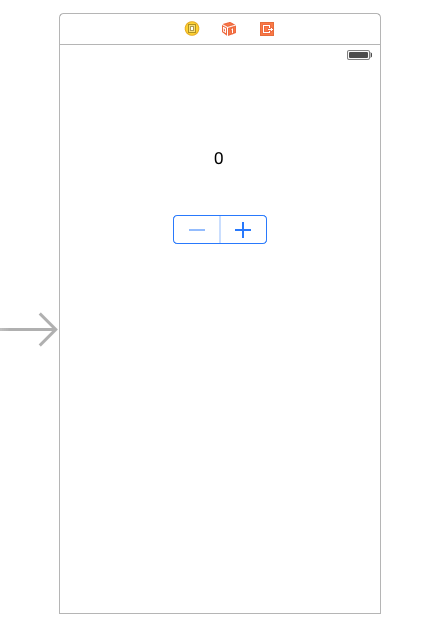
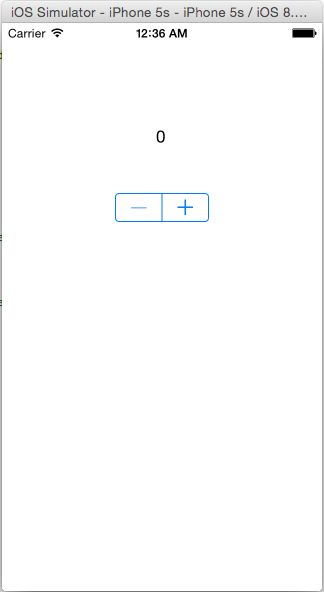
Then, drag and drop the UIStepper and UILabel to the main view of the storyboard and change the UILabel value as ‘0’ now it will looks like below.
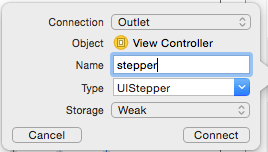
Select the Assistant editor and ctrl and drag the UIStepper into the ViewController.swift file to create IBOutlet for UIStepper as following.
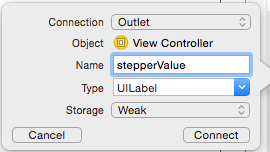
Then, create the IBOutlet for UILabel, name it as “stepperValue”
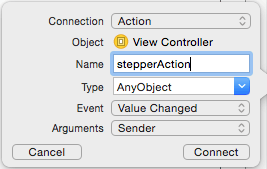
Next, create the IBAction for UIStepper, name it as “stepperAction”
UIStepper Class having the following properties,
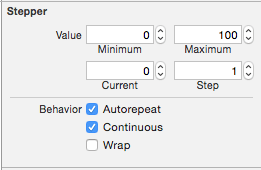
Autorepeat : If set true values are incremented or decremented repeatedly when button is hold
Continuous : If set true increments/decrements value when the button is pressed else increments/decrements the value after the button is pressed
Minimum Value : Minimum decrement value for the UIStepper to start
Maximum Value : Maximum increment value for the UIStepper to end
Step Value : Specific value used to increment/decrement when button is pressed
Now select the UIStepper element on the view in the storyboard, you can see its properties on the ‘File Inspector‘. Set the ‘minimum value’ as ‘0’ and ‘maximum value‘ as ‘100’. Enter the ‘Step Value‘ as ‘1’. Now keep the options ‘AutoRepeat‘ and ‘Continuous‘ as checked.
Next, we have to implement the stepperAction method,
  @IBAction func stepperAction(sender: AnyObject)
    {
      stepperValue.text = "\(Int(stepper.value))"
    }
the stepper value is assigned to label value and go ahead Build and Run application, will get the output like below, and download the uistepper tutorial source code from here.
Leave a Reply