An iOS UISlider object is used to select a single value from a continuous range of sliders, the slider is always displayed as horizontal bars and it has a thumb that is used to select the specific values in the slider. for more reference, you go through the apple documentation for UISlider class.
In this tutorial, we are going to learn about how to implement UISlider using swift programming language, so you just need Xcode 6 or higher version to run this example.
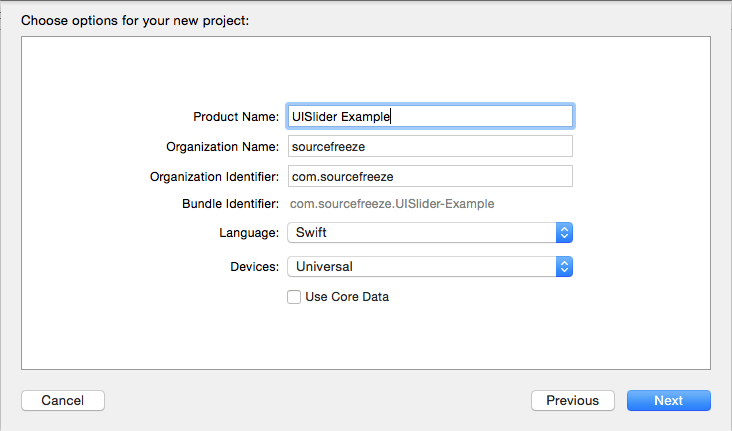
Open the Xcode, create a new project and select the Single View Application template, then enter the product name as UISlider example next fill out the Organization Name and Organization identifier then select “Swift” language and device family as iPhone and remains core data field as unchecked because we are not using that feature, to create an ios slider we can either use a storyboard or create by code instance let’s start our tutorial using story board.
Adding UISlider into the view
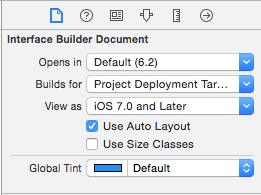
Go to the storyboard and drag the ios slider and label to the main view, now the storyboard will look like the below, using storyboard we can create a user interface for universal devices, but in this example, we are creating a user interface only for iPhone devices. So go to the File inspector and uncheck the Use Size Classes.
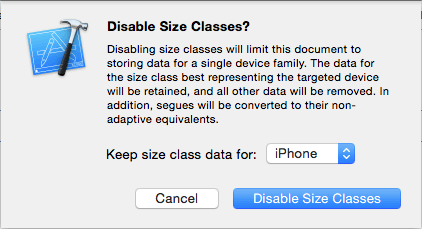
then, it will popup a new window in that select iPhone from Keep size class data for: field, like below.
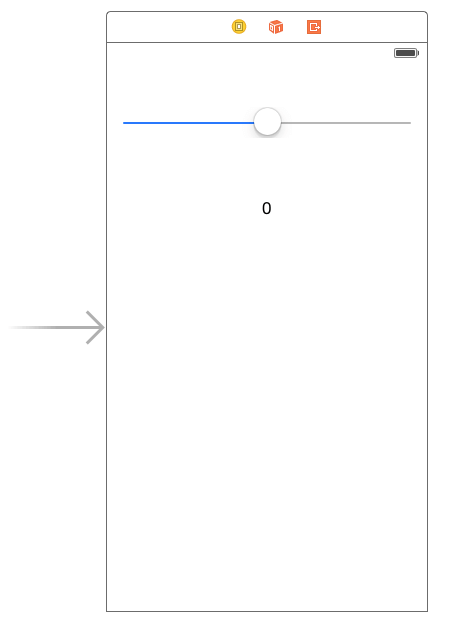
Drag the UISlider and UILabel into the view now you can move slider using thumb image, and edit the UILabel values as 0, it will looks like below
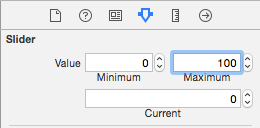
Next, select the UISlider go to the Show the Attributes Inspector, under the slider change the maximum value to 100 and current value as 0.
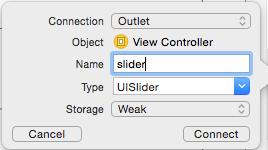
Then go to the ViewController.swift by selecting the show the Assistance editor, and create outlet for UISlider.
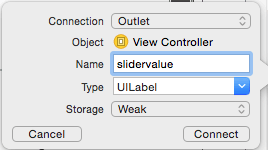
Next create the IBOutlet for UILabel like below,
UISlider Value Changed event
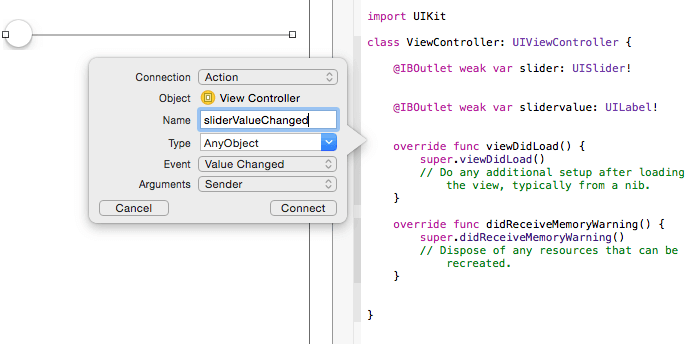
In order to respond to the slider value changing, we have to add IBAction for UISlider, Hold the ctrl key, and add it into ViewController.swift file like below, in the dialog, pops up, select the Connection value as Action and enter “sliderValueChanged” in the Name field and click the connect button.
it will create the sliderValueChanged(sender: AnyObject) into the ViewController.swift file, then add the below code into this method.
@IBAction func sliderValueChanged(sender: UISlider) {
var selectedValue = Float(sender.value)
slidervalue.text = String(stringInterpolationSegment: selectedValue)
}
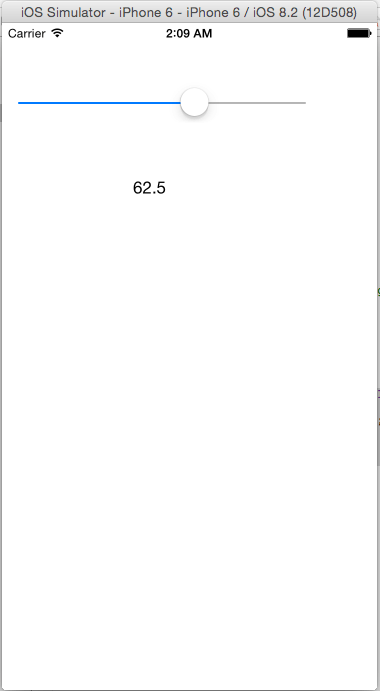
Then Build and Run the application, and drag the slider thumb now you can see the values changes are reflected in UILabel. the output screen will look like below, and download the uislider tutorial source code from here.
Leave a Reply