In Next.js, facing the “window is not defined” error might feel confusing. This error pops up when trying to use the window object in code that runs on the server side. Let’s dig into why this happens in Next.js and how to solve for window is not defined:
Understanding the Error
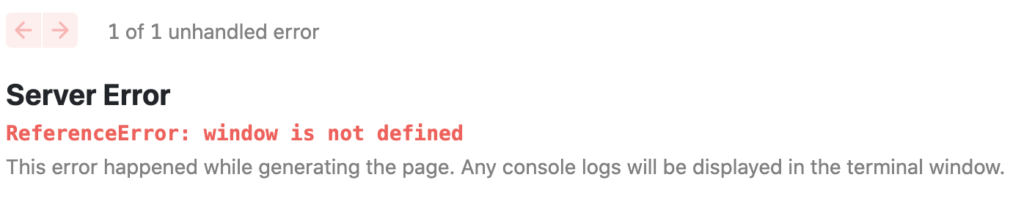
JavaScript running on the client-side within a browser context has access to the window object, which represents the browser window or tab. However, in server-side rendering frameworks like Next.js, some code executes on the server, where the window object isn’t available. Attempting to directly access it in such cases leads to the “window is not defined” error.
Here’s how the error looks:
Solution 1: Conditional Rendering to check for window:
One way to address this issue is by conditionally checking for the existence of the window object before accessing it. Let’s consider an example:
if (typeof window !== 'undefined') {
  // Access window object here
  const screenWidth = window.innerWidth;
  // Perform actions using screenWidth
} else {
  // Handle scenarios where window object is not available
  console.error('Window object is not defined.');
}
Explanation:
typeof window !== 'undefined': This check ensures that thewindowobject exists before attempting to access it.window.innerWidth: Example code accessing a property of thewindowobject. You can perform specific actions or retrieve necessary information within this block
Solution 2: Using useEffect in Components
In Next.js, when using components that rely on the window object, employing the useEffect hook can help defer their execution until after the component mounts on the client side.
function MyPlayer() {
  const [error, setError] = useState(null);

  useEffect(() => {
    if (!window.Audio) {
      setError("Audio API is not supported");
    }
  }, []);

  if (error) {
    return <div>{error}</div>;
  }

  // Your code using the Audio API
  const audioRef = useRef(null);

  return (
    <div>
      <audio ref={audioRef} src="my-audio.mp3" controls />
      <button onClick={() => audioRef.current.play()}>Play</button>
    </div>
  );
}
The MyPlayer component demonstrates how to handle the “Window is not defined” error in Next.js when dealing with browser APIs, specifically the Audio API. Here’s a breakdown:
1. Checking for the Audio object:
- We use the
useStatehook to store a state variableerrorthat will hold any error message. - Inside the
useEffecthook, we check if thewindow.Audioobject exists. - If it doesn’t exist, which can occur during server-side rendering in Next.js, we set the
errorstate to a message indicating the lack of support for the Audio API.
2. Conditional rendering based on the error:
- If the
errorstate is not null, meaning an error exists, we display the error message within a div element. This prevents the component from attempting to use the unavailable API and causing a runtime error.
3. Using the Audio API when available:
- If the
errorstate is null, meaning theAudioAPI is available, we proceed with our component logic. - We create a
useRefcalledaudioRefto hold a reference to the actual audio element within the component. - We render the HTML5
audioelement, referencing it via theaudioRefand specifying the audio source file. - We also render a button that triggers the
playmethod on theaudioRef.currentobject, allowing users to play the audio.
This example demonstrates how to handle the “Window is not defined” error in a specific scenario. We can apply the same principles to deal with other browser APIs or situations where we need to access window-specific objects in Next.js.
Conclusion:
In this blog, we learnt how to solve Next.js window is not defined error. We explored two effective methods: conditional rendering and useEffect. By understanding the issue and implementing these techniques, you can ensure your Next.js applications run smoothly and interact seamlessly with the browser environment. Happy coding!
Thanks for stopping by! Check out more from Source Freeze here!
Leave a Reply